Excel data import preparation
We recommend downloading the Excel template from the system (see step 1).
The template includes the required fields and proper formats. Time should be in a 24-hour clock.
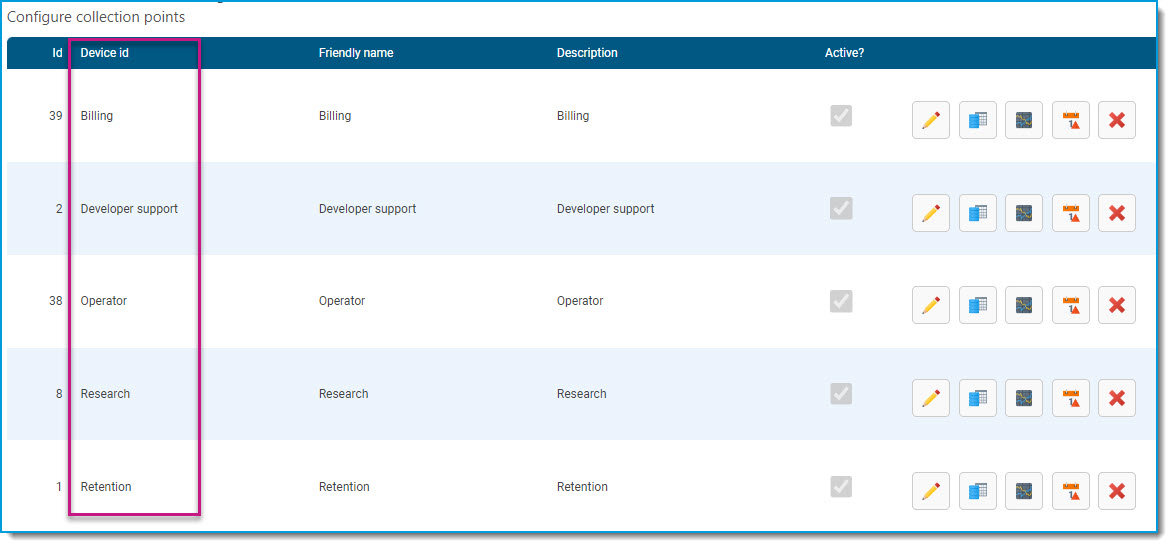
To find the Skill Id (device id) select Show the setup options dialog in the Setup Options tile (Settings > Data sources).
Open Collection Points to see the Device id for the data source.
Import data
Navigate to Settings > Data sources
Select the data source for your center.
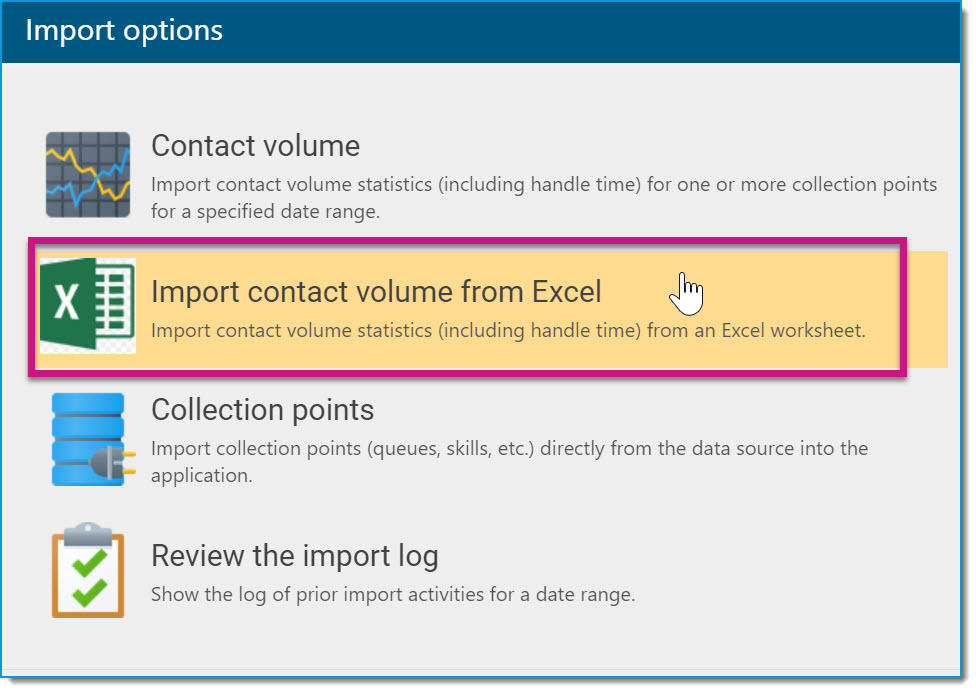
Scroll down to the Import tile and select Show the import options dialog.
In the pop-up menu select Import contact volume from Excel.
Step 1: Select an existing file or upload a new one
Select whether to Upload a new file or Select an existing import file. This screen will have slightly different options depending on whether there are previously uploaded files.
Note: The file must not be open when uploading.
Typically, you’ll import one skill at a time. There is a row limit of ~5000 when importing.
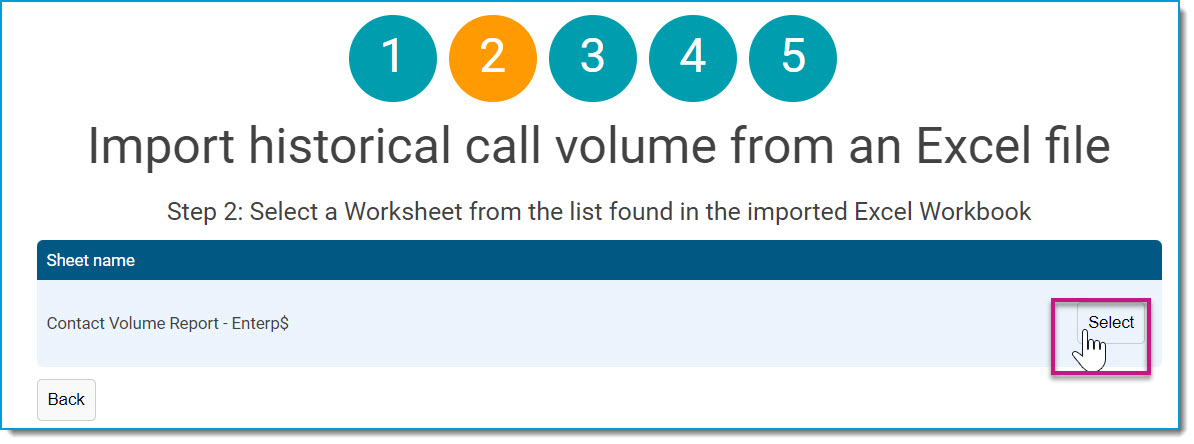
Step 2: Select the worksheet
Select the worksheet from the uploaded or existing workbook. You may import only one worksheet at a time.
Step 3: Select or create the import template
The template is a mapping device to make sure the data imported matches the tables in the system. Once created you shouldn’t have to have more than one template.
Select from existing templates or create a new template.
Create a new Import Template
The template defines the field names, required or not, the data type, and the column name. Confirm that each field name matches a column in your imported worksheet then click OK.
Step 4 Verify and import
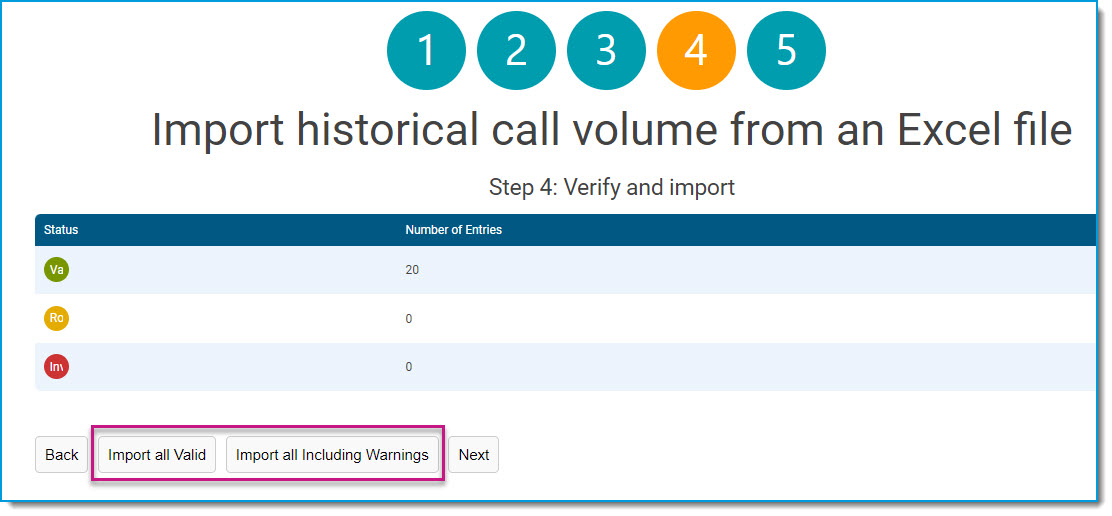
Review the table for the total number of—
• Valid rows ready for import
• Rows with warnings ready for import
• Invalid rows that cannot be imported
You may choose to import only the valid rows, or also include the rows with warnings.
Select one import option and it will advance to the next step.
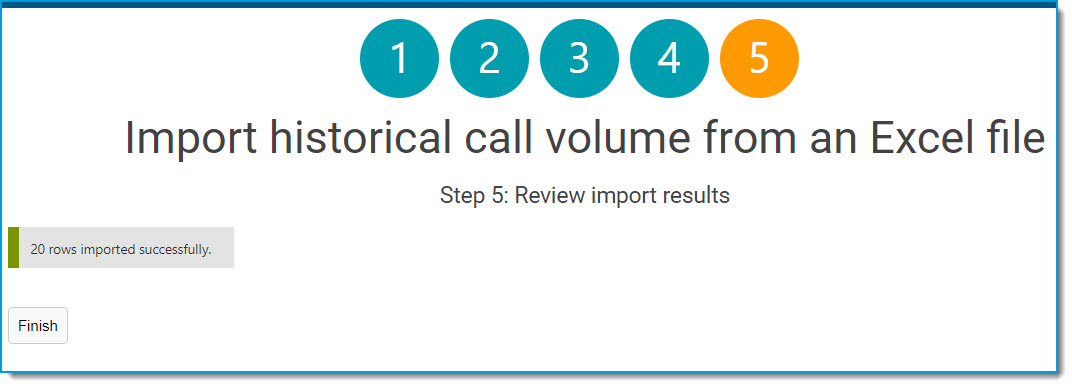
Step 5: Review import results
View the number of rows imported then click Finish.
View Imported Data
To view the imported data, select Run contact volume history reports in the reports tab and enter the date range. In the Options window make selections then click Apply options.